Built-Ins That Live With You

Today we dive into built-ins, celebrating the seamless shelves, window seats, and wall-to-wall cabinets that transform awkward corners into purposeful, enduring storage. You’ll discover how to plan with confidence, budget without guesswork, and specify materials, lighting, and joinery that look timeless, perform daily, and feel as though they have always belonged in your home, supporting routines, collections, and quiet moments with equal grace.

Reading the Room

Stand in each doorway and imagine daily motion. Where do bags drop, socks pile, or books gather? Trace bumps in the wall, measure floor sloping, and note how sunlight hits shelves. Align cabinet stiles with existing trim, leaving consistent shadow lines. You are choreographing furniture with architecture, ensuring every inch respects the room’s rhythm and quietly amplifies how you actually live.

Scale and Proportion

A tall ceiling invites generous verticals, but balance matters. Keep upper shelves within reach zones, stagger heights for visual cadence, and anchor mass with a well-proportioned base. Face frames, rails, and stiles echo door profiles nearby. Use painter’s tape to outline the footprint on walls and floors. When the taped mockup feels natural from multiple vantage points, you’re close to a fit that reads inevitable.

Material Sense: Durable Beauty You Can Touch Every Day

Materials decide how your built-ins age. Furniture-grade plywood resists sagging, hardwood face frames take knocks, and MDF offers silky paintable faces when supported wisely. Edge banding protects exposed cores; quality fasteners keep joints tight under real life. Finishes matter just as much: choose enamel that scrubs clean, matte sheens that hide fingerprints, and stains that celebrate grain. The goal is tactile honesty—surfaces that invite use, not worry.

Smart Sheet Goods

Consider veneer-core plywood for stability, or MDF-core for ultra-flat paint finishes where weight is manageable. Check thickness consistency before buying. Plan shelf spans to minimize deflection under heavy books. Pre-finish interior panels when possible for cleaner assembly. Label cuts meticulously to avoid chipping the best faces. When chosen thoughtfully, sheet goods become an invisible engine of longevity, keeping lines straight and doors satisfying to swing for years.

Joinery That Lasts

Dadoes and rabbets guide alignment, pocket screws speed assembly, and confirmat screws excel with composite cores. Glue selection matters; use wood glue for wood-on-wood, construction adhesive sparingly where needed. Reinforce corners with cleats where loads concentrate, and add back panels for racking resistance. Small choices compound into sturdy confidence. Every hidden joint is a promise that shelves won’t sag, faces won’t twist, and doors will close true.

Finishes You Can Live With

Prime edges thoroughly, sand between coats, and test color in your actual light. Satin enamel provides washability without glare; oil-modified waterborne products balance durability and dry time. For wood, clear finishes highlight warmth while protecting from daily scuffs. Consider low-VOC options for healthy interiors. A finish should be forgiving of smudges, easy to touch up, and quietly supportive of the room’s palette rather than demanding attention.

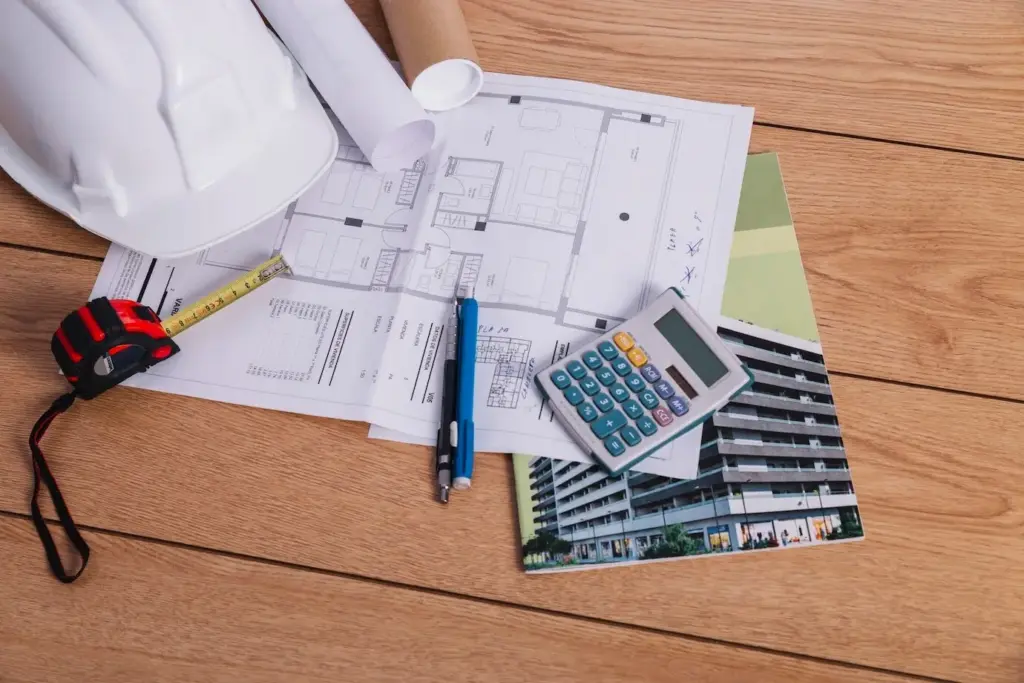
Budget Clarity Without Compromise

Where to Save

Leverage stock cabinet boxes as carcasses, paint-grade materials for uniform color, and simple flat stock for clean reveals. Buy sheet goods during contractor sales, reuse adjustable shelf pins, and choose open shelving where doors aren’t necessary. Skip ornate crown if ceilings are uneven. Smart savings hide in repetition, efficient cuts, and standardized hardware. Spare your budget where aesthetics and performance won’t meaningfully suffer, preserving funds for tactile upgrades.

Where to Invest

Spend on durable hinges, full-extension soft-close slides, and stable cores that resist warp. Quality paint or finishing is worth every penny because you’ll see and touch it daily. Consider specialty lighting, protective top coats, and custom face frames for a tailored look. Splurge on a single showpiece detail—a library ladder, inset doors, or handsome wire mesh—that elevates the whole installation and makes the space unforgettable every time you enter.

A Sample Budget Roadmap

Start with a baseline for sheet goods and trim, add a realistic line for fasteners and adhesives, then layer in hardware and finishing supplies. Allocate contingency for surprises in walls or floors. If numbers feel tight, prioritize structure over embellishment and plan a second phase for doors or lighting. Share your approach in the comments—your diagrams, cost trackers, and lessons learned could help another reader build with confidence.

Power, Light, and Venting: The Quiet Infrastructure

Built-ins often hide electronics, chargers, routers, or media gear. Plan receptacles, cable paths, and ventilation before the first cut. Low-voltage channels keep wires invisible; grommets and brush plates tidy pass-throughs. LED strips inside niches add glow without heat. Dimmer controls shape mood from movie night to morning coffee. These discreet choices keep surfaces clear, devices cool, and your home wonderfully uncluttered and calm.

Cables and Cooling

Bundle wires with Velcro, never tight zip ties that pinch. Provide vent slots behind closed doors housing components, and leave clearance around power bricks. Consider whisper-quiet fans for dense media bays. Drill access holes where they can be hidden by shelves. Label both ends of every cable. When your gear breathes and cords are organized, daily use becomes effortless and future upgrades take minutes instead of weekends.

Lighting Layers

Combine puck lights for focused highlights, LED strips for even shelf wash, and a concealed driver location for serviceability. Test color temperature against wall paint and book spines; warmer tones often feel welcoming at night. Place switches where hands naturally reach. Add motion sensors to low cabinets in kids’ zones. Thoughtful lighting turns storage into atmosphere, guiding attention gently while keeping the room’s mood adaptable and serene.

Installation Day: DIY Confidence or Pro Precision

Success hinges on sequence. Dry-fit boxes, shim to dead level, and scribe to walls that are never truly straight. Locate studs accurately and fasten into structure, not just drywall. Work from reference lines and center points. If door reveals or miters intimidate, bring in a finish carpenter for a day. Collaboration is not defeat—it is stewardship of the final look you’ll see for years.

Preassembly and Templates

Build carcasses square, verify diagonals, and pre-drill for hardware before paint. Create cardboard templates for tricky scribe cuts at baseboards or stone. Number every component and protect finished faces with tape during test fits. Controlled preparation reduces on-site chaos, keeps paint pristine, and turns installation into a calm, deliberate sequence rather than a scramble. Your future self will be grateful for every label and checklist.

Anchoring with Confidence

Use long cabinet screws into studs, backed by ledger boards to carry weight while you work. Check plumb and level with each fastener, not after. Tie boxes together through face frames for a single, quiet plane. Shim voids without crushing drywall. Secure tops and add anti-tip measures for tall units. The goal is rigidity without strain, leaving doors to swing true and shelves to sit perfectly still.

Style, Storage, and Stories: Make It Uniquely Yours

Built-ins shine when they carry your history. Mix closed cabinets for everyday clutter with open bays for heirlooms, travel finds, records, or a sea of paperbacks. Vary shelf heights to keep displays lively, and add a surprising element—a round niche, reeded doors, or patterned wallpaper backs—for delight. Invite conversation with a cushioned window seat. The best details whisper your story without shouting.
Lorutufozipaniximale
Privacy Overview

This website uses cookies so that we can provide you with the best user experience possible. Cookie information is stored in your browser and performs functions such as recognising you when you return to our website and helping our team to understand which sections of the website you find most interesting and useful.